
This guide explains how to collect all of the hard drives in satisfactory to unlock alternate recipes in around 4-5 hours. We will be making use of an extensive power network and the hover pack to make our way around the map.
Starting with all of the requirements before setting off. You want to make sure you have the hover pack unlocked. If you don’t have that, exploration is going to be very tedious. You will also want to have the hazmat suit and gas mask unlocked with gas filters and infused iodine filters available in your inventory. I used only a few of each since you can avoid the worst of the gas and radiation using the hover pack. Yo will also want to bring along the rifle and plenty of ammo. I used around 2000 ammo all up, because you will have to fight many enemies. It is also best to bring along a few inhalers to heal up, I used around 10-20 of them. This is to recover from any mistakes. Be sure to setup frequent auto saves because dying in the middle of nowhere is not fun since you will have to collect all of the materials again and then make you way out to where yo died. Finally, bring along enough for a few hundred power poles and about twice that amount in cables as well as a few foundations. Also take materials for the MAM.
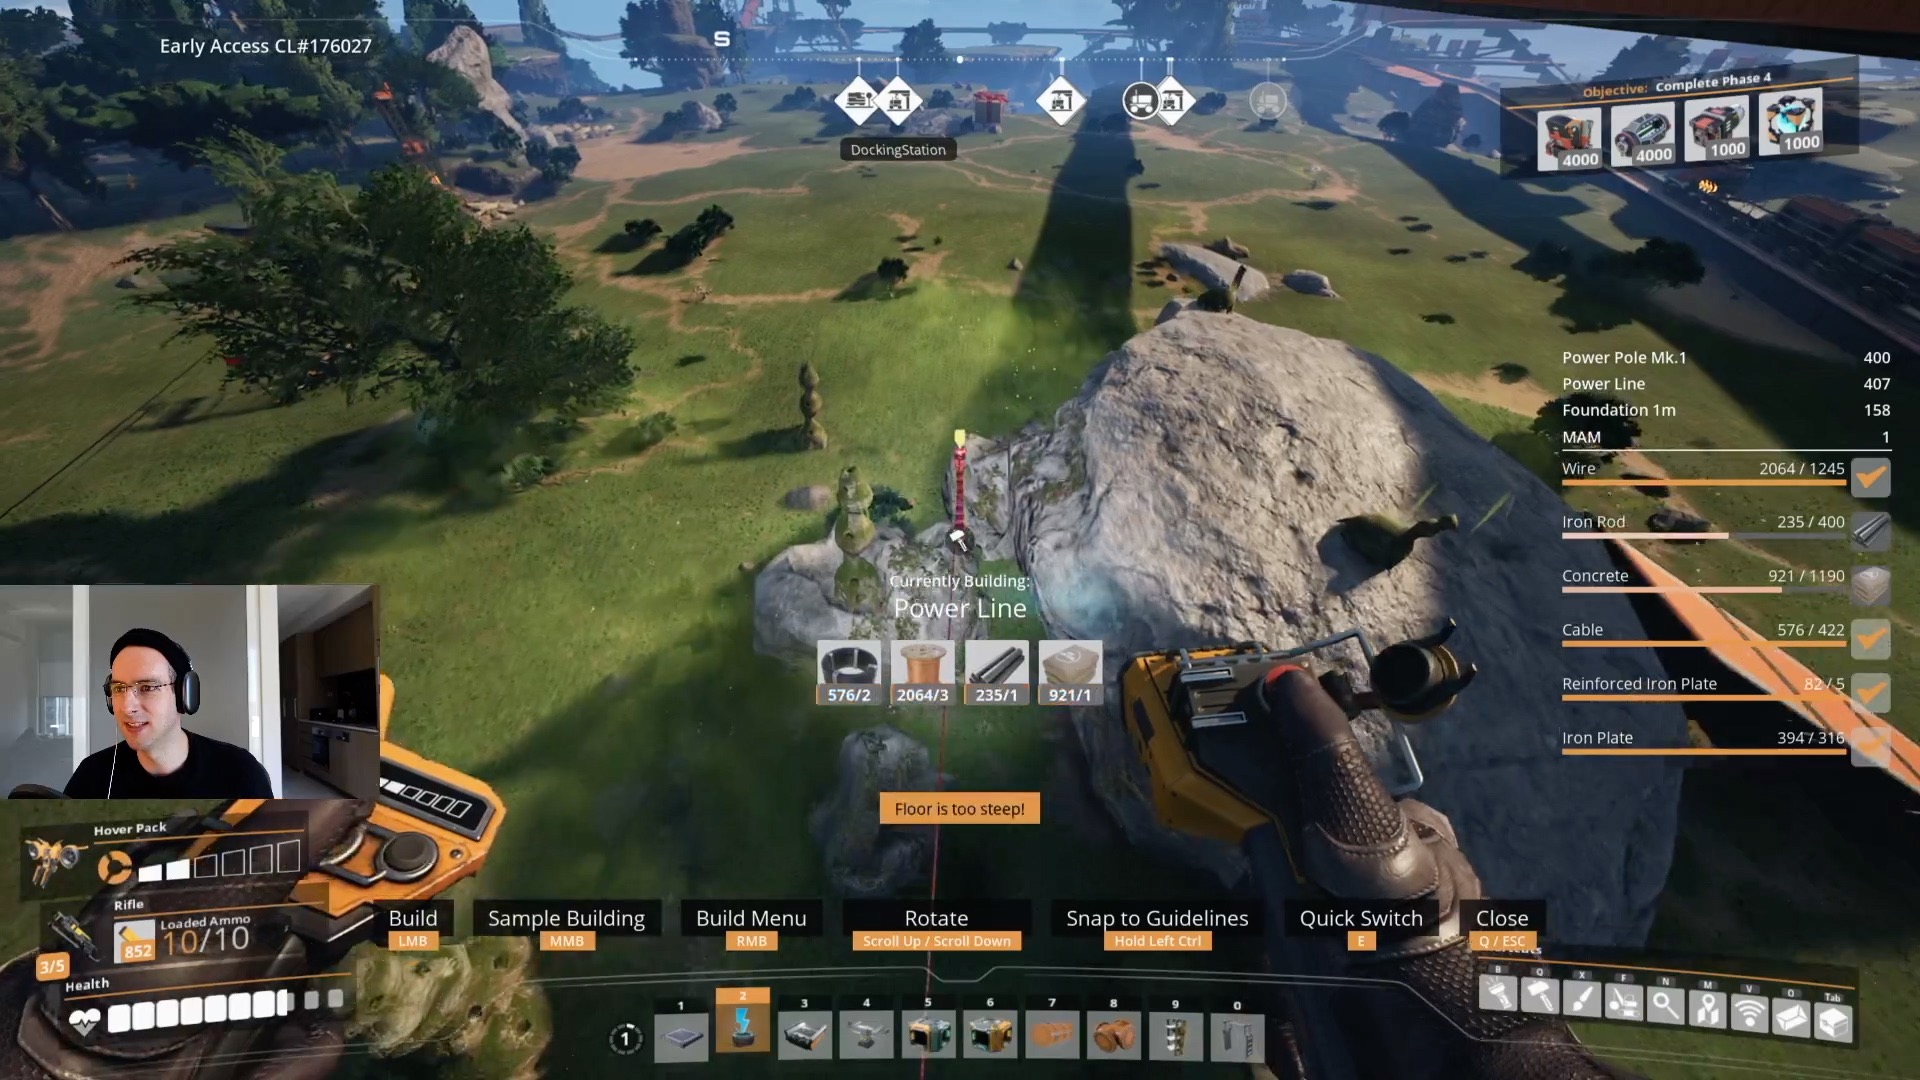
Next we will discuss how to explore. The hover pack lets you fly indefinitely as long as you are in range of a power source. So, we will be drawing power lines towards our destination as we are flying towards the next drop pods. I usually place another power pole once I am about to start falling because I am out of range from the previous power pole. You can use the object scanner to find the drop pods. However, it only has a limited range. Instead, I used the following map which has all of the location for all of the drop pods on the map: https://satisfactory-calculator.com/en/interactive-map. Be sure to enable the drop pods. I usually use land marks and direction, such as north, south, east etc to navigate towards the next closest drop pod. If you encounter a sheer cliff you can place foundations into the cliff and then place the power poles onto the foundations to make it up the cliff.

Before you set off take a look at all of the material requirements for the drop pods you are targeting to ensure that you will have them available. You can also use coupons from the AWESOME sink, although coupons are precious and should be used sparingly. Typical materials required are motors, encased industrial beams, crystal oscillators, rotors and so on.
Once you arrive at a drop pod approach it carefully. Enemies have a tendency to spawn in and do a lot of damage to you quickly. Some of the drop pods are near sources of uranium, be sure to equip the hazmat suit for them. Others are within gas. I found that I could hover high enough and still access the drop pods without having to put on the gas mask which saved a lot of time. I also usually avoided the enemies that don’t shoot to save bullets and time as well.
As you collect hard drives be sure to put down a MAM and scan hard drives. You will get a notification once a hard drive is scanned, be sure to pick an alternate recipe and start scanning the next hard drive. There are around 100 hard drives to scan that take about 10 minutes each so it will take quite a lot of time to scan all of the hard drives.
So, there you go. You now have a technique that will enable you to explore the entire map and collect hard drives in around 4-5 hours. The extra bonus is that you will now have power available everywhere which means that you can easily make use of drone networks for your factories since you will already have power available.

